
Look, I’ve been messing around with solar setups on golf carts for a while now. And the one thing that keeps surprising people? You don’t need to plug in as much. Like, at all.
That’s the real draw here. You park your cart, the sun does its thing, and your batteries stay topped off. Simple as that.
Solar panels on golf carts aren’t new. But they’re getting good enough now that they actually make a difference. We’re talking extended battery life. Less time tethered to a charger. Lower electricity bills if you’re running a fleet. And yeah, the eco-friendly angle matters to a lot of folks.
The thing most people don’t realize is that solar isn’t about replacing your charger completely. It’s about reducing how often you need it. Trickle charging throughout the day. Keeping those batteries from sitting half-dead while your cart collects dust in the garage.
If you’ve ever come back to a cart with dead batteries after a few weeks of not using it, you know exactly what I’m talking about.
So let’s get into it. What actually matters when you’re picking a solar panel for your golf cart, and which setups are worth your money.
Why Install Solar Panels on Your Golf Cart?
Alright, so why bother with solar in the first place?
The short answer: it saves you hassle and money over time.
But let’s break that down a bit.
Key Benefits of Solar-Powered Golf Carts
Here’s what you’re actually getting:
- Extended battery lifespan. This is huge. Lead-acid batteries hate sitting discharged. Solar keeps them topped up, which means they last longer. We’re talking potentially years longer.
- Reduced electricity costs. Not dramatic savings, but it adds up. Especially if you’re running multiple carts.
- Environmental benefits. Renewable energy. Less grid dependence. You know the drill.
- Continuous trickle charging. Your batteries get a slow, steady charge all day. Batteries love this.
- Perfect for storage periods. Cart sitting for the winter? Solar keeps those batteries healthy without you thinking about it.
- Increased range between charges. Not massive gains, but you’ll notice fewer trips to the outlet.
- Reduced battery maintenance. Less sulfation. Fewer top-offs. Less headache overall.
The biggest benefit honestly? Peace of mind. You’re not constantly wondering if your batteries are dying.
How Solar Panels Work on Golf Carts
Nothing complicated here.
Solar cells on the panel convert sunlight into DC electricity. That’s the same type of power your golf cart batteries store. So they speak the same language, basically.
The electricity flows from the panel to a charge controller. This is important. The controller regulates how much power goes to your batteries. Without it, you risk overcharging. That kills batteries fast.
The controller monitors battery voltage, adjusts the charge rate, and cuts off power when the batteries are full. It’s like a traffic cop for electricity.
Then the current flows to your battery bank. Slow and steady. Keeps everything at optimal charge levels without cooking anything.
That’s it. Sunlight hits panel. Panel makes electricity. Controller manages flow. Batteries stay happy.
What to Consider When Buying Solar Panels for Golf Carts
Not all panels are created equal. Here’s what actually matters.
1. Power Output and Wattage
This is where most people get confused.
Golf cart solar panels typically range from 10W to 100W. Sometimes higher for serious setups.
Here’s the thing though. You’re not trying to fully charge your cart with solar. You’re maintaining charge and extending time between plug-ins.
For a standard 48V system, I’d say 50W-100W is the sweet spot. Enough to make a real difference without going overboard.
For 36V systems, 30W-60W usually does the job.
12V accessory systems? Even 10W-20W can be useful.
Think about your usage patterns too. Daily driver? Go higher wattage. Weekend warrior? You can get away with less.
The math: look at your battery bank’s amp-hour capacity, figure out your typical daily consumption, and size accordingly. Or just go with 50W+ and call it a day. That’s what most people do.
2. Panel Size and Dimensions
Your golf cart roof isn’t that big. This matters more than people think.
Standard golf cart roofs give you maybe 30-40 inches of usable width. Length depends on the model, but you’re usually working with limited space.
Rigid panels are the traditional option. More efficient per square inch, but they need a flat mounting surface.
Flexible panels can conform to curved roofs. Lighter too. But they tend to be slightly less efficient and might not last as long.
Foldable panels exist for the portable crowd. Park somewhere sunny, unfold, charge. Pack it up when you leave.
Before you buy anything, measure your roof. Twice. I’ve seen people order panels that don’t fit. It’s not fun.
Most golf cart-specific panels are designed to fit common roof sizes. But check the specs anyway.
3. Panel Type and Efficiency
Three main types you’ll see:
Monocrystalline: The good stuff. Higher efficiency, usually 18-22%. Works better in low light. Costs more. Worth it if you have limited space.
Polycrystalline: Budget-friendly option. Slightly lower efficiency, maybe 15-17%. Blue-ish appearance. Gets the job done for less money.
Thin-film: Flexible and lightweight. Lower efficiency though, around 10-13%. Best for curved surfaces where rigid panels won’t work.
Efficiency matters because of your space constraints. A 20% efficient panel produces more power from the same footprint than a 15% efficient panel. On a small golf cart roof, that difference adds up.
My take? Monocrystalline for most people. The efficiency gains are worth the extra cost given how limited your mounting space is.
4. Durability and Weather Resistance
Your panel sits outside. All the time. In sun, rain, dust, and whatever else nature throws at it.
Look for IP65 or IP67 ratings. That means it’s protected against dust and water.
UV resistance matters too. Panels get blasted with sunlight constantly. Cheap panels degrade faster.
Impact resistance is worth considering if you’re driving through tree-lined courses. A stray branch shouldn’t kill your panel.
Check the warranty. Good panels come with 5-10 year warranties. Some premium options go 25 years. If the manufacturer won’t back it for at least 5 years, I’d be suspicious.
Golf course conditions are surprisingly harsh. Sprinkler overspray. Chemical treatments on grass. Temperature swings. Your panel needs to handle all of it.
5. Charge Controller Compatibility
This is where people mess up the most.
Your charge controller needs to match your battery system voltage. 12V, 36V, or 48V. Get this wrong and you’ll damage something.
Two main types of controllers:
PWM (Pulse Width Modulation): Simpler, cheaper. Works fine for most golf cart applications. Less efficient in certain conditions.
MPPT (Maximum Power Point Tracking): More sophisticated. Extracts more power from your panels, especially in variable light. Costs more but delivers 10-30% more efficiency.
For golf carts, PWM is usually fine. MPPT is nice if you want maximum performance, but the extra cost might not be justified for a recreational cart.
Some panel kits include a charge controller. Some don’t. Check before you buy. Having to source one separately isn’t terrible, but it adds complexity.
6. Installation and Mounting Options
How hard is this going to be?
Most golf cart solar panels offer a few mounting approaches:
- Bolt-on brackets: Most secure. Requires drilling into your roof. Permanent solution.
- Adhesive mounting: No drilling. Uses industrial-strength adhesive. Easier install but harder to remove later.
- Clamp systems: Attach to existing roof rails or edges. Less invasive but check if your cart has compatible mounting points.
Angled mounting gets you better sun exposure but adds height and wind resistance. Flat mounting is cleaner looking and more aerodynamic.
DIY installation is totally doable for most people. Basic tools, a couple hours, and you’re set. The wiring is the slightly tricky part, but nothing crazy.
Professional installation makes sense if you’re not comfortable with electrical work or if your cart is worth a lot and you don’t want to mess it up.
7. Price and Value
Let’s talk money.
Basic setups start around $100-150. You’re getting a smaller panel with a basic controller. Fine for light maintenance charging.
Mid-range options run $200-400. Better panels, better controllers, more wattage. This is where most people should be shopping.
Premium systems can hit $500+. High-efficiency panels, MPPT controllers, full wiring kits. Makes sense for serious users or expensive battery banks.
Think about cost per watt. A 100W panel at $200 is $2/watt. A 50W panel at $150 is $3/watt. The higher wattage option is usually better value.
But also consider long-term ROI. A quality setup protects expensive batteries. If solar extends your battery life by even one year, it’s paid for itself.
Don’t cheap out on the controller. A bad controller can damage batteries that cost way more to replace than whatever you saved.
Best Solar Panels for Golf Carts: Top Picks

Alright, let’s get to the actual recommendations.
I’ve looked at a bunch of options considering different needs, budgets, and cart types. These are the setups that make sense right now.
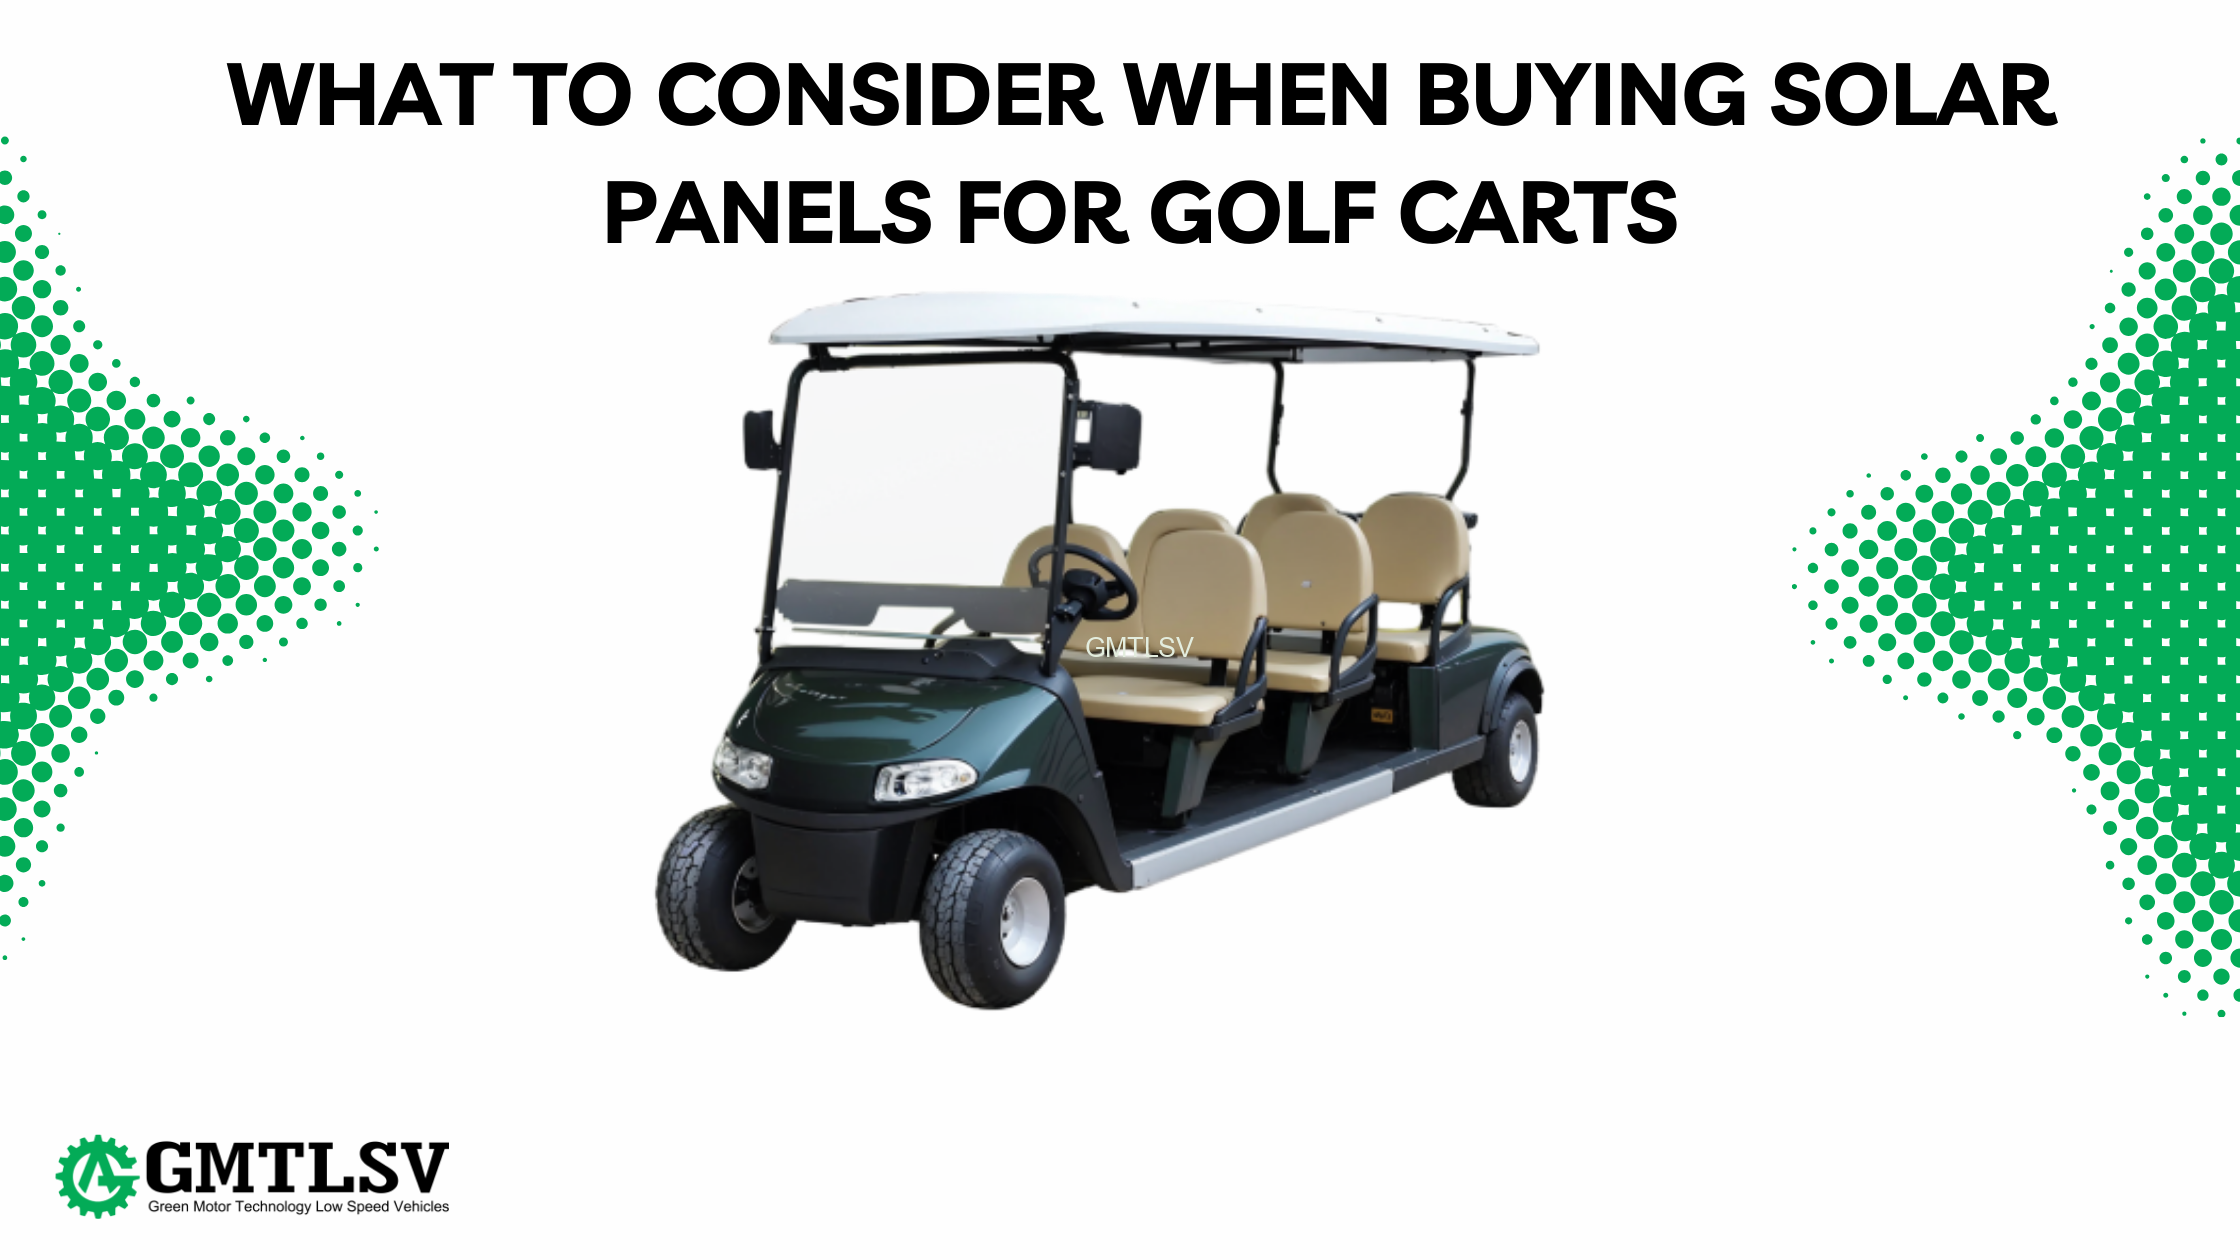
1. GMTLSV 48V G1A Golf Cart
Best Overall Solar Panel for Golf Carts
This is the one I’d recommend to most people.
The GMTLSV 48V G1A hits the sweet spot. It’s designed specifically for 48V systems, which is what most modern golf carts run. The integration is clean. Power output is solid.
What I like: purpose-built for golf carts, so you’re not jury-rigging something that wasn’t meant for the application. The solar system is matched to the cart’s electrical architecture.
Build quality is there. These carts are built for actual use, not just showing off. The solar integration isn’t an afterthought.
For someone who wants a reliable solar-equipped cart without overthinking it, this is the move.
2. GMTLSV 36V G1P Mini Golf Cart
Best Budget Solar Panel for Golf Carts
Going with a 36V system keeps costs down. The G1P Mini is proof that you don’t need to spend a fortune.
Smaller cart. Smaller price tag. But the solar integration is still legit.
This makes sense for personal use around a neighborhood or small property. You’re not hauling a foursome across 18 holes, but for what it is, it works great.
The 36V system is simpler electrically. Fewer batteries. Lower complexity. If you’re just getting into solar golf carts and don’t want to overcommit, start here.
Best value in this roundup, honestly.
3. GMTLSV GAH4 4-Seater Electric Golf Cart
Best High-Output Solar Panel
Need more power? More seats? More capability?
The GAH4 steps things up. Four-seater capacity means more weight to move, which means the solar system had to be sized accordingly.
This is where you start seeing what a properly configured higher-output solar setup can do. More panel surface area. Better charging capability. The kind of setup that actually puts a meaningful dent in your charging needs.
Good for small resort applications or anyone who regularly has passengers. The extra power output isn’t wasted when you’re moving more mass.
4. GMTLSV GAH2+2 4-Seater Golf Cart
Best Flexible/Portable Solar Panel
The 2+2 configuration gives you forward-facing seats plus rear-facing seats in back. Different layout than the standard 4-seater.
What makes this one interesting from a solar perspective is the flexibility in configuration. The setup adapts to varied use cases better than fixed designs.
If your usage patterns change a lot, or you need something that handles different scenarios well, the GAH2+2 configuration makes sense.
Not the cheapest option. But the versatility has value if you need it.
5. GMTLSV GAH4+2 6-Seater Electric Golf Cart
Best Premium Solar Panel System
Six seats. That’s substantial.
When you’re moving this many people, your battery drain increases significantly. Which means your solar charging system needs to keep pace.
The GAH4+2 comes with a solar setup scaled for the load. Premium build quality throughout. This is the kind of cart you’d see at upscale resorts or communities where image matters alongside function.
Is it overkill for personal use? Probably. But if you’re running a rental fleet or shuttling guests at a property, the investment makes sense.
The solar system on this one is robust enough to meaningfully extend range and reduce charging cycles even with heavier usage.
6. GMTLSV GAH6+2 8-Seater Electric Golf Cart
Best for 48V Systems
Eight seats. We’re in serious territory now.
This is fleet vehicle stuff. Airport shuttles. Large resorts. Gated communities. You’re moving groups of people consistently.
The 48V system on the GAH6+2 is substantial, and the solar integration is sized to match. We’re talking about a solar setup that actually makes a meaningful contribution to the energy budget of a vehicle this size.
Not cheap. Not meant for casual use. But for commercial applications where reducing charging time and extending service hours matters, the math works out.
The best solar implementation for high-capacity 48V systems I’ve seen.
Installation Guide
Let’s say you’re adding solar to an existing cart, or you want to understand what goes into setting these systems up.
Step-by-Step Installation Process
Here’s the basic flow:
- Measure and plan your mounting location. Figure out where the panel will sit. Check for obstructions. Make sure nothing will shade it.
- Clean the mounting surface. Whatever’s up there needs to be clean. Dirt and grease mess with adhesive bonding and can cause problems later.
- Install mounting brackets or prepare adhesive. Brackets need pilot holes. Adhesive needs proper surface prep. Follow the instructions for whatever system you’re using.
- Secure the solar panel. Take your time here. Make sure it’s solid. You don’t want it shifting around while you’re driving.
- Connect the charge controller. Wire the panel to the controller first. Follow polarity. Positive to positive. Negative to negative.
- Wire to battery bank with proper fusing. This is critical. Use appropriate gauge wire. Install inline fuses. Connect to batteries.
- Test connections. Check all connections are tight. Look for any obvious issues before powering up.
- Verify charging operation. With sunlight on the panel, your controller should show charging activity. If not, troubleshoot.
Safety warning: Disconnect batteries before working on electrical connections. Battery banks can deliver serious current. This isn’t something to be casual about.
Wiring and Electrical Connections
Get this right or you’ll have problems.
Positive connects to positive. Negative to negative. Seems obvious but people mess this up.
Wire gauge matters. For golf cart applications, 10 AWG or 12 AWG is typical. Undersized wire creates resistance, which creates heat, which creates fires. Don’t cheap out on wire.
Inline fuses are mandatory. Put a fuse between the panel and controller. Put another between controller and batteries. If something shorts, fuses save your equipment.
Use weatherproof connectors. MC4 connectors are standard for solar. They seal against moisture. Regular electrical connectors will corrode outside.
Proper crimping is important. Loose connections cause resistance and heat. Use actual crimping tools, not pliers. This isn’t the place to improvise.
The basic wiring layout: Panel positive → fuse → controller input positive. Panel negative → controller input negative. Controller output positive → fuse → battery positive. Controller output negative → battery negative.
That’s it. Not complicated, just needs to be done right.
Common Installation Mistakes to Avoid
I see these constantly:
- Incorrect polarity. Reversing positive and negative. Destroys equipment fast.
- Undersized wiring. Creates fire hazards. Use the right gauge.
- Missing fuses. A short circuit without fuses means melted wires or worse.
- Poor weatherproofing. Water gets into connections and causes corrosion and shorts.
- Shading issues. Even partial shade on a panel kills output disproportionately. Plan your mounting location.
- Loose connections. Heat buildup. Intermittent operation. Check everything is tight.
- Wrong charge controller settings. Make sure your controller is set for your battery type (flooded, AGM, lithium).
- Blocking ventilation. Batteries need airflow. Don’t cover vents with wiring or panels.
Take your time. Double-check everything. It’s much easier to do it right the first time than to troubleshoot problems later.
Frequently Asked Questions
What size solar panel do I need for my golf cart?
Depends on your setup.
For 12V accessory systems: 10-20W is usually enough.
For 36V golf cart systems: 30-60W works for most people.
For 48V systems: 50-100W is the sweet spot.
Heavy daily use? Go higher. Occasional use with lots of storage time? Even smaller panels help maintain batteries.
If you’re unsure, 50W is a good starting point for most golf carts. Enough to make a difference without being overkill.
Can solar panels fully charge a golf cart battery?
Realistically? Not from dead to full in any reasonable timeframe.
Here’s the truth: solar panels on golf carts are for maintenance charging and extending time between plug-ins. They’re not designed to replace your regular charger.
A 100W panel might add 5-7 amp-hours on a sunny day. A typical golf cart battery bank holds 150-225 amp-hours. You can see the math doesn’t work for rapid charging.
But for keeping batteries topped off between uses? For adding range during a day on the course? For preventing battery damage during storage? Solar does all of that really well.
Complete off-grid charging is possible with larger panel arrays and extended charging times. But for most people, think of solar as supplemental, not replacement.
How long does it take to charge a golf cart with solar panels?
Lots of variables here.
Panel wattage. Battery capacity. Sunlight intensity. How discharged the batteries are.
Let me give you an example. A 100W panel in full sun produces roughly 5-6 amps. A 48V system with 150Ah capacity would take about 25-30 hours of peak sunlight to fully charge from empty.
That’s why solar is about maintenance, not primary charging.
For practical purposes: expect to add 10-20% battery capacity per full sunny day with a decent panel setup. Good for extending range. Not great for recovering from deep discharge.
Will solar panels work in cloudy weather?
Yes. But less effectively.
Cloudy conditions typically drop output to 10-25% of full sun capacity. So your 100W panel might produce 10-25W.
Still useful. Still charging. Just slower.
That’s actually one advantage of consistent solar installation. Even on cloudy days, you’re getting something. Over time, those small contributions add up.
The panels work whenever there’s light. Direct sunlight is best, but they don’t just quit because it’s overcast.
Do I need a charge controller for my golf cart solar panel?
Yes. Absolutely yes.
Don’t skip this. Don’t wire a panel directly to your batteries.
Without a controller, your batteries can overcharge. That damages them. Shortens lifespan. Potentially dangerous with certain battery types.
A charge controller regulates voltage and current. Prevents overcharging. Handles the varying output from the panel as light conditions change.
Even a cheap $20 PWM controller is infinitely better than no controller. Spend a bit more for an MPPT controller if you want maximum efficiency.
This is not optional equipment.
Can I install solar panels on any golf cart?
Electric golf carts: yes, definitely. That’s what they’re designed for.
Gas golf carts: sort of. You can run a small solar panel to charge a 12V accessory battery. Won’t do anything for your gas engine obviously, but can power lights, radios, USB ports.
Custom carts: probably, but you might need to get creative with mounting and wiring.
Brand-specific considerations: Club Car, EZGO, Yamaha all have slightly different roof styles and electrical systems. Most universal solar panels fit, but check dimensions and voltage compatibility.
The main requirements are: space to mount the panel, and a battery system to charge. If you have both, you can make it work.
How long do golf cart solar panels last?
Quality panels: 20-25 years.
That’s not a typo. Solar panels are surprisingly durable. No moving parts. Nothing to wear out mechanically.
Output does degrade over time. Expect about 0.5% efficiency loss per year. After 25 years, a panel might produce 85-90% of its original capacity. Still useful.
Warranties typically run 5-10 years for defects. Some premium manufacturers offer 25-year performance warranties.
What kills panels early: physical damage, poor weatherproofing, bad mounting that allows vibration. Take care of the installation and the panel itself will outlast your golf cart.
Are flexible or rigid solar panels better for golf carts?
Both have their place.
Rigid panels: More efficient. More durable. Better value long-term. Need a flat mounting surface though. Heavier.
Flexible panels: Adapt to curved roofs. Lighter weight. Easier to install sometimes. Less efficient. Shorter lifespan typically.
My recommendation: rigid panels for standard golf cart roofs with flat mounting options. Flexible panels only if your roof is curved or you specifically need the weight reduction.
If you can mount a rigid panel, that’s usually the better choice. But flexible panels are way better than no panels, so don’t overthink it if that’s what fits your cart.

